Create a Word Merge report template
Learn how to create a Microsoft Word Merge document, format the layout, then save the template back in Vernon CMS.
Overview
Word Merge report templates are useful whenever you need to combine the full power of Microsoft Word's functionality with your data. This includes layout features such as headers, footers, tables, and columns. You can also insert your logo and any standard text such as terms and conditions.
Common uses include:
-
Object labels
-
Forms
-
Letters
-
Address labels
-
Loan agreements
-
Inventories
-
Receipts
On this page
Before you begin
You need to enable macros before using Word Merge. See Enable or disable macros in Microsoft 365 (Microsoft support website).
Part 1: Create a Word Merge document
The first part of creating a Word Merge report template is to select your fields and formatting options in Vernon CMS. Then run the report to open a layout document in Microsoft Word.
-
Click Report on the toolbar to open the Reporting tool.
-
If you don’t already have a file open in the background, select the file (for example, Object).
-
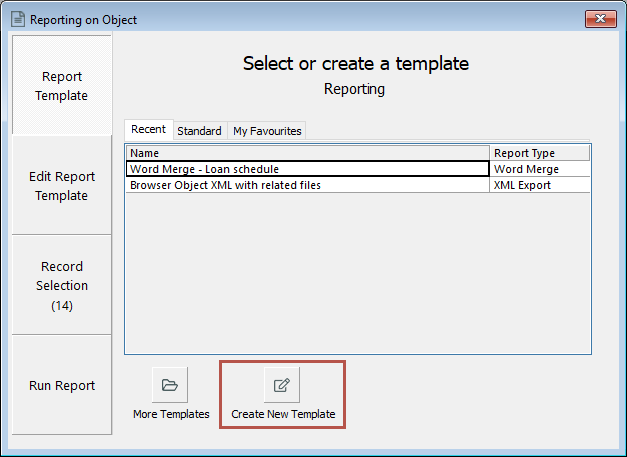
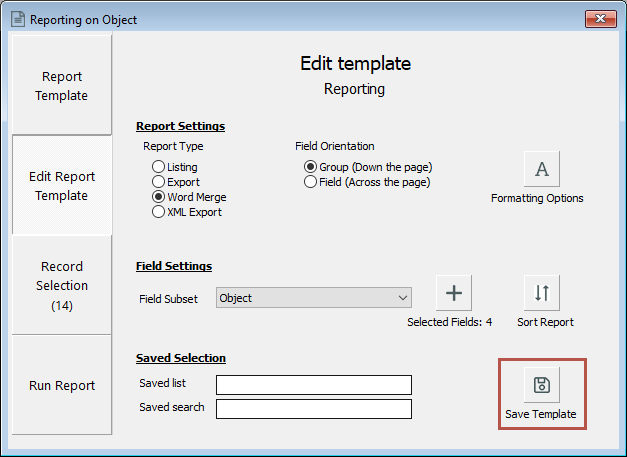
On the Report Template tab, click Create New Template.
-
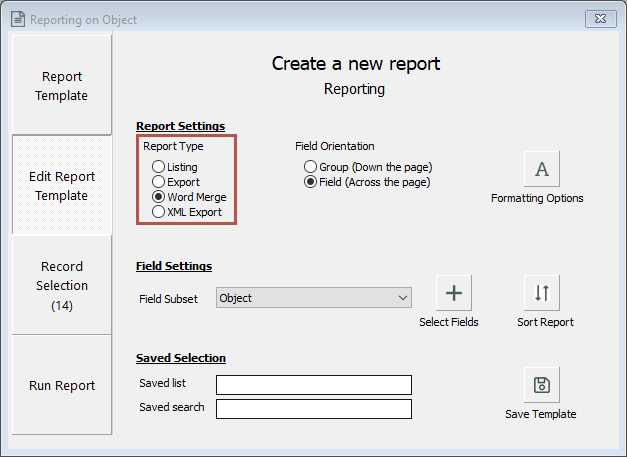
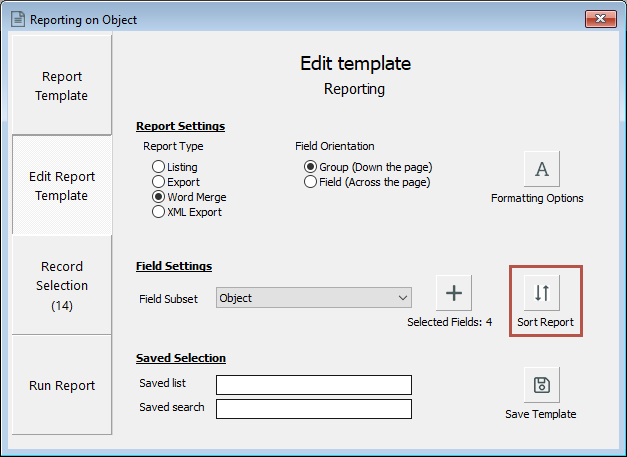
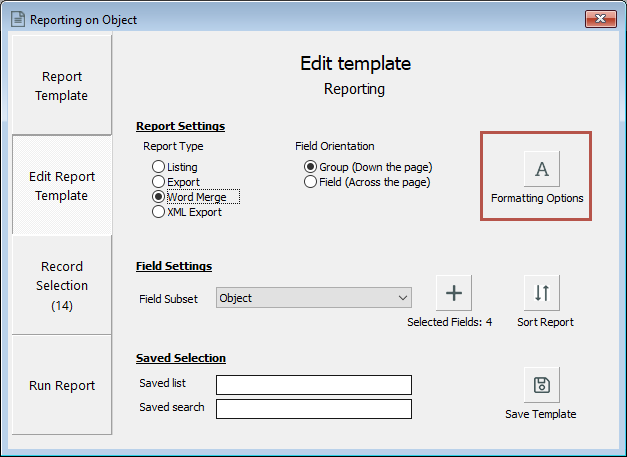
On the Edit Report Template tab, under Report Types, select Word Merge.
-
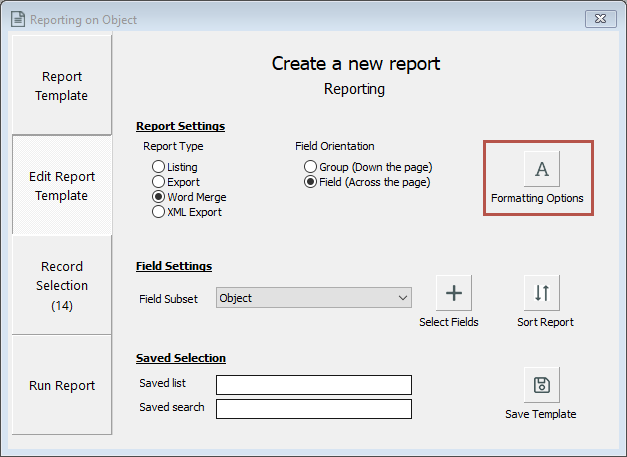
Optional: Click Formatting Options to apply formatting:
-
Tick Include Field Labels and select Left Justified or Right Justified.
-
Under Mail Merge Format, select an option:
-
Directory: Multiple records per page.
-
Letters: One record per page.
-
Envelopes: This format is set up in Word with special options for the envelope label size, stationery and layout.
-
Labels: This format is set up in Word with special options for the label size, stationery and layout. If you need to use a specific commercial format, see Create labels in your Word Merge report template to fit commercial formats.
-
-
Under Image Display, select Original, Thumbnail, or Derivative. If you select Derivative, click Options to select the size.

-
-
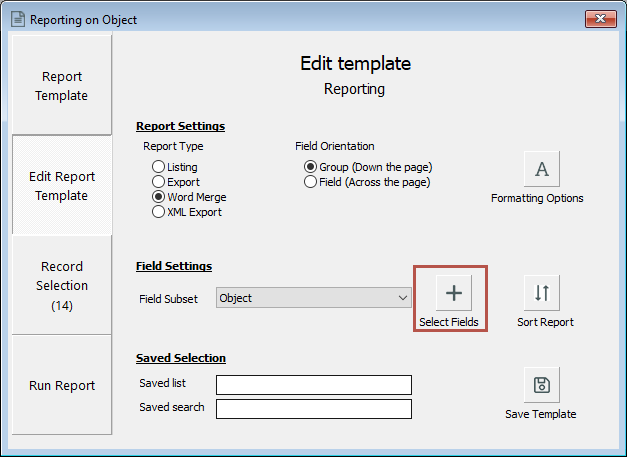
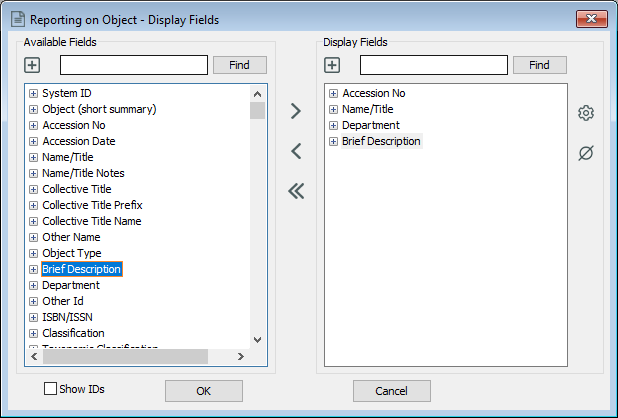
Click Select Fields.
-
In the list of Available Fields, double-click fields to move them into the list of Display Fields and click OK.
-
Click Sort Report to choose your sort field and click OK.
-
If you don't have any records selected, go to the Record Selection tab to select records.
-
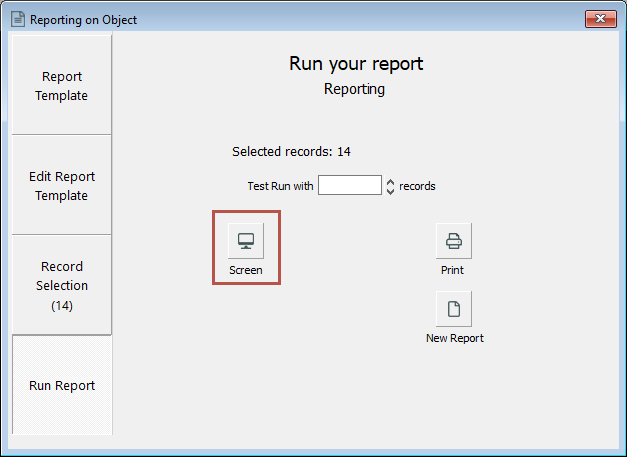
Go to the Run Report tab and click Screen to open the Word Merge document.
Part 2: Format the Word Merge document
The second part of creating a Word Merge report template is to format the document.
Format the font and layout
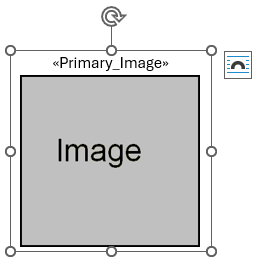
The layout document contains placeholders for the fields you selected.
Select each placeholder and use Word’s formatting options to change the appearance. The formatting you apply to the field placeholder will apply to the field data.
For example, if you bold the accession number placeholder in the layout document, the actual accession number will be bold in the final report.
This formatting of the field placeholders…
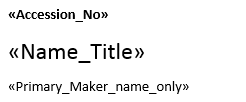
…will produce this formatting of the field data in the report:

Add the image placeholder
-
Go to the View tab of Microsoft Word.
-
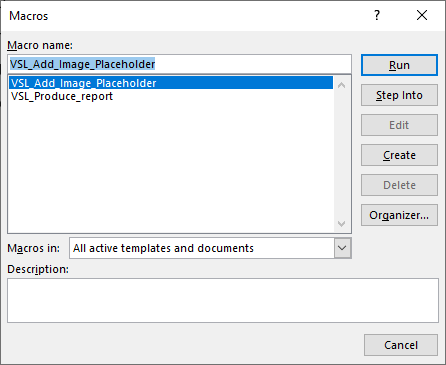
Click on Macros and then View Macros.
-
In the Macros window, select VSL_Add_Image_Placeholder and click Run.
-
In the Attributes window, select your preferences and click OK:
-
If you'd like a border, tick Display border around image.
-
If you'd like the image centered, tick Centre image in image frame.
-
If you’d like to send the report to someone who does not have access to the image file locations (for example, someone outside the institution), tick Save Images with Document.
-
-
Select the image placeholder by its outer box to move it to your preferred position.
Apply other formatting
For example, you could:
-
Add a title.
-
Add a header or footer, including your organisation logo.
-
Use tables.
-
Add standard text such as terms or conditions.
-
Add page numbers.
Produce the report to check the formatting
-
Go to the View tab of Microsoft Word.
-
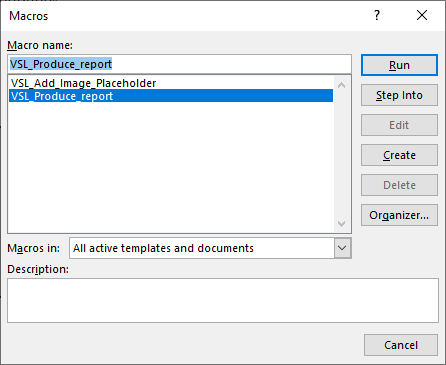
Click on Macros and then View Macros.
-
In the Macros window, select VSL_Produce_Report and click Run.
Fix any formatting issues
If the images and text in your report appear strangely or on top of each other, go back to your layout document, and try using a table.
-
On the Insert tab, select Table to insert a table.
-
Move the image placeholder into its own column or row of the table.
-
Ensure that there are no blank lines in the template at the end of the table.
-
Make table borders invisible.
-
Run the macro to produce the report again and make sure you're happy with the report.
Part 3: Save the Word Merge layout document as a Vernon CMS report template
When you are happy with your layout document, you can save it as a Word Macro-Enabled Document, then link it in Vernon CMS as a report template.
Save the layout document in Microsoft Word
-
Go to the File menu and click Save as.
-
For the file type, select Word Macro-Enabled Document (.docm).
-
Browse to a folder location that everyone can access, such as a shared drive. You can also save report templates to the Wincoll > Reports folder.
-
Click Save.
Link the layout document in Vernon CMS and save it as a report template
-
In the Reporting tool, on the Edit Report Template tab, click Formatting Options.
-
In the Formatting Options window, do these steps:
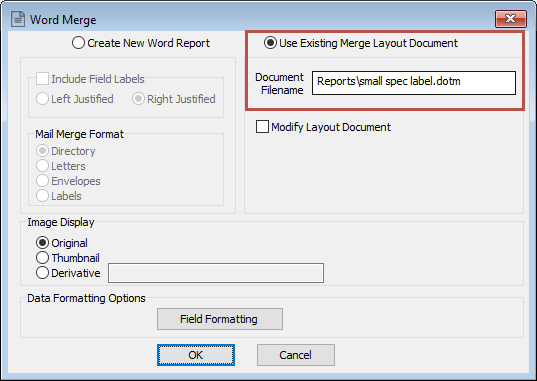
-
Select Use Existing Merge Layout Document.
-
Click into the Document Filename field and click on the folder icon.
-
Browse to the layout document, select it, and click Open.
-
Click OK.
-
-
Click Save Template.
-
In Portfolio, name the file and click Save.
Your Word Merge report template is now ready to be used with your records.