Add a document
You can add documents of any type to most files in Vernon CMS.
Overview
You'll use the Document References window in available files (such as Object - Document References).
There are two tables in the Document References window:
-
Documentation table
-
External File table
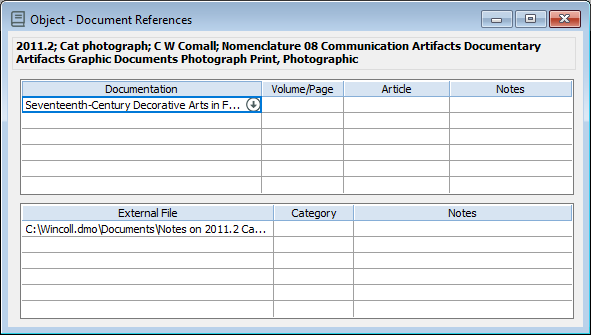
Documentation table
You can use the Documentation table to link records that exist in the Document file in Vernon CMS. The benefit of this is that the document links to multiple records within Vernon CMS, and you can search for the document and records related to it. You can click on a document in the table and click Go To on the toolbar to open the Document record.
External File table
You can use the External File table to link documents that are outside Vernon CMS. You can double-click on documents in this table to open them.
Add a document using the Document file
For new records in the Document file:
-
Open the record you want to attach a document to and then open the Document References window.
-
Click into the next empty row in the Documentation table and click Go To on the toolbar.
-
In the Document - Identification window, on the Title, Author tab, add details about the document.
-
On the Abstract, Extract tab, in the External File field, click Options to find the document.
-
Click Save and then close the Document - Identification window. The document will appear in the Documentation table of the Document References window.
-
Click Save to save the Document References window.
For existing records in the Document file:
-
Open the record you want to attach a document to and then open the Document References window.
-
Click into the next empty row in the Documentation table and enter the name of the document, or click Options to find the document.
-
Click Save.
Add an external file
-
Open the record you want to attach a document to and then open the Document References window.
-
Click into the next empty row in the External File table and click Options.
-
In File Explorer, select the document you want to attach, and click OK.
-
Click Save.